For example, the graph below of a worn drill bit shows the wear of the diameter. In this case, a suitable amount of re-pointing to remove the front taper is as follows,
L0 : Overall length of new drill bit (before drilling)
L1 : Length between the end of drill shank and the end of front
taper part
L2 : Approach length of drill point
Re-pointing amount = L0 - L1 - L2
=
38.15 - 38.04 - 0.03
= 0.08 mm
(The "Approach length of drill
point" varies
according to diameter and other specifications)

Even if the front taper is removed as above, there is a possibility that you can still see the rounded cutting edge caused by wearing of margin edge. (red lines in right figure)These corners should be removed, therefore you should check these worn parts by microscope.
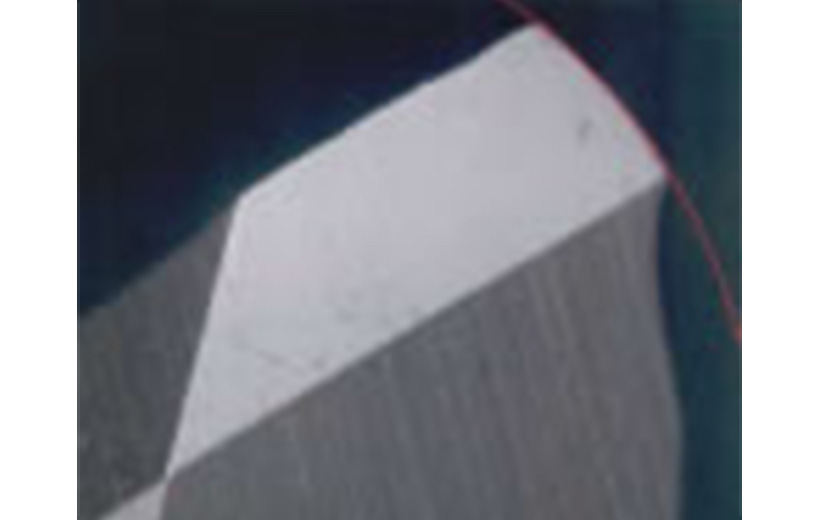
Removed completely
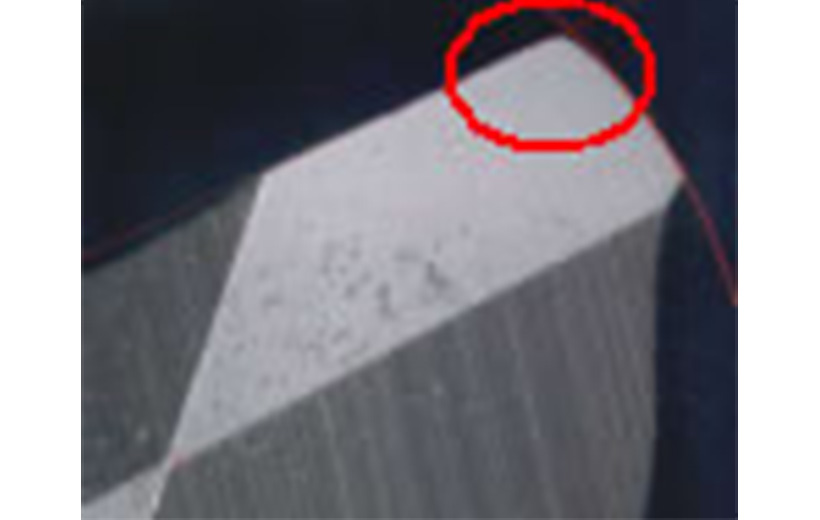
Remaining wearing part of margin edge (round corner)
Finally, a suitable amount of re-pointing in this example is as follows,
Suitable amount to re-pointing = 0.08 + a
(a :
amount to repoint that removes worn part of the margin edge)
*Above amount to repoint is calculated by the measuring result of this example. Therefore the state of the worn diameter and the worn margin edge vary according to the drill bit specification, PCB setting and drilling conditions etc..
Please avoid excessive re-point. Over re-pointing can affect hole quality as follows, decrease in
flute volume, causing swarf clogging
---> worsening roughness and registration accuracy.
PRODUCT 01 PCB Drills / Routers / Ultra precision micro-hole drill